This is as much an aide memoire for myself as a guide for others, but it may be of interest to see behind the scenes if I’ve built a website for you. As you get used to updating and extending your new website, the information below will explain why things look as they do, and how you can make your own changes.
Initial Installation and Set Up
Start by obtaining hosting and a domain name and installing WordPress as I’ve already described in my WordPress Website Checklist post. I won’t repeat all of that here but will note that:
- When installing WordPress, it’s worth looking to see whether any plugins will be installed automatically and opting out if there are any that you wouldn’t choose to use.
- Checking the permalinks, as described in that other post, is an important step.
- The best image sizes to input under Media Settings will depend on the individual website, but the ones I’ve used in my Blank Slate website are – Thumbnail width = 396 & height = 264px, Medium max width = 660px & max height = 440 px, and Large max width = 1024px & max height = 1024px.
- Under Reading Settings I may choose to tick the option “Discourage search engines from indexing this site” temporarily until the site is ready to launch. I need to make sure to change this later.
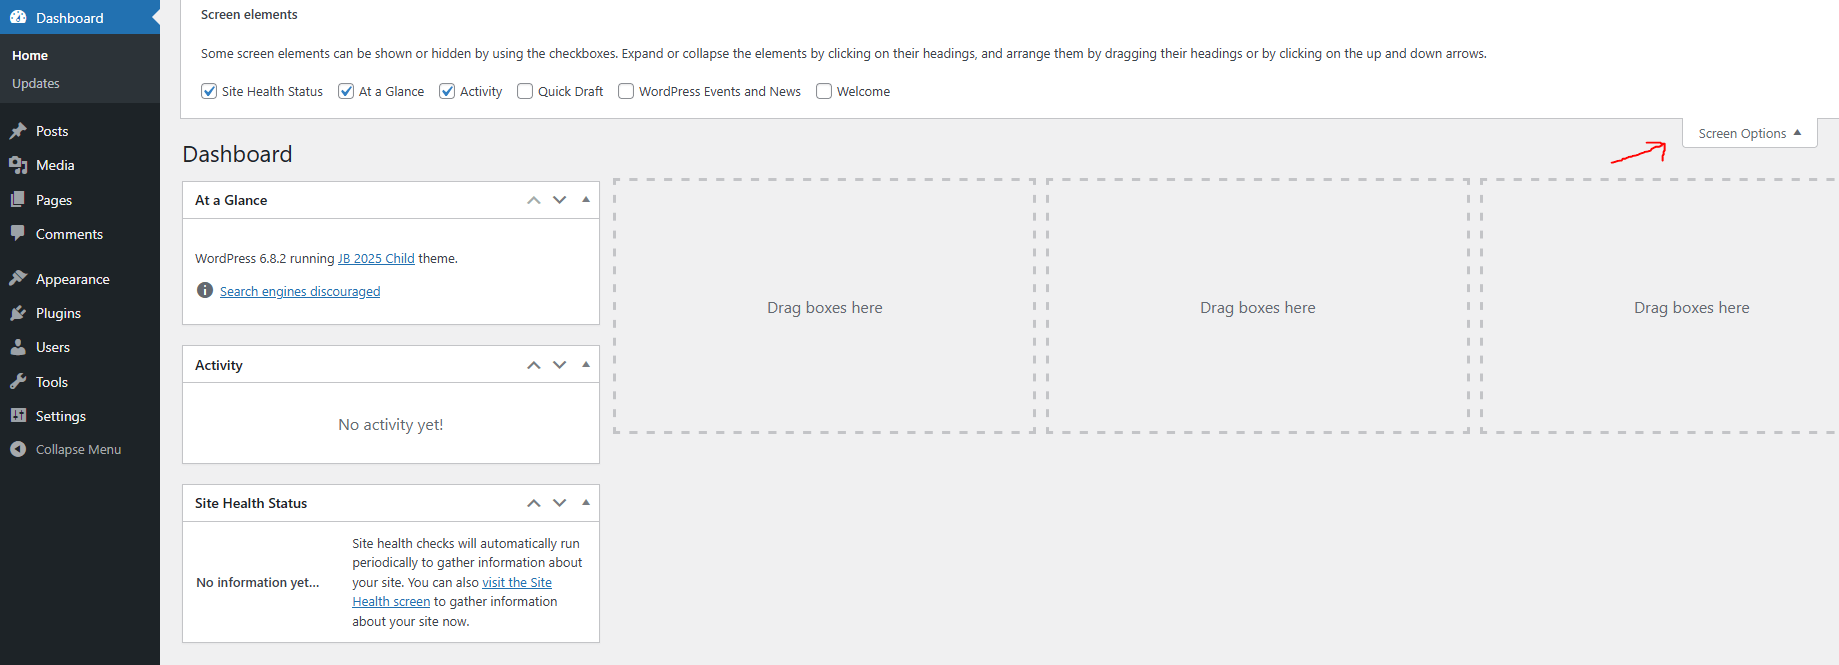
The WordPress dashboard can be simplified slightly by going into the Screen Options (in the top right hand corner of the screen) and unticking any elements that are not required.
Install and Activate Child Theme
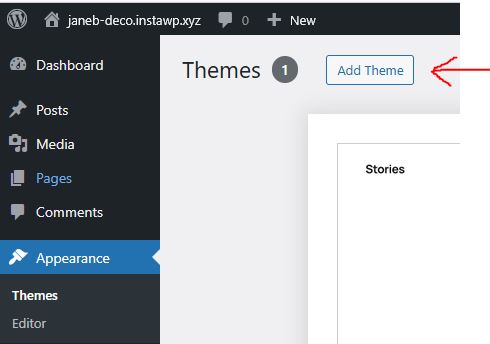
Go to Appearance > Themes and click the “Add Theme” button…
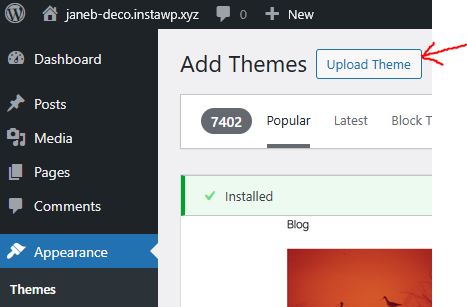
… then the “Upload Theme” button.
Browse the files on my computer to find and install my child theme…
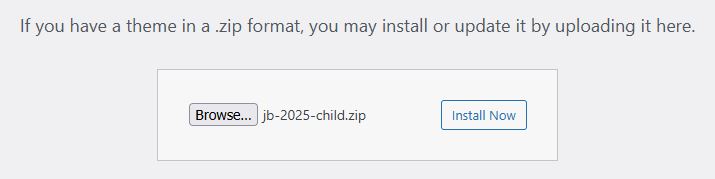
…and then activate the theme.
Copy Additional CSS from Blank Slate
Blank Slate is a kind of prototype for my off-the-peg websites (see my blog post “My Blank Slate Website” for more information). It’s a work in progress, so going back to this source means I get the most up to date version of the CSS and patterns I use.
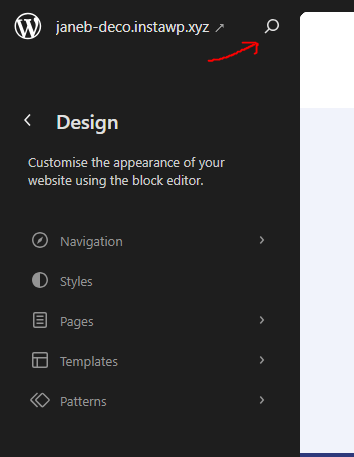
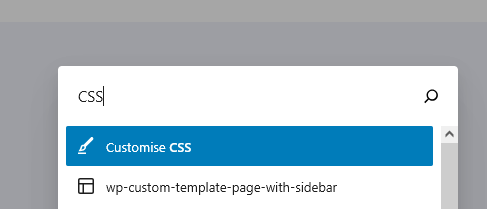
Log into the Blank Slate website, find the Additional CSS and copy it. Then find the Additional CSS panel in the new website. One way to do this is to go to Appearance > Editor then click the search icon to open the Command Palette and search for CSS.
Paste in the Additional CSS, delete (or comment out) any lines of CSS that are not required for the new website, and save.

I could have put a lot of this CSS code in my child theme, and I may still decide to do so in future. But this method (although a bit inelegant) means that I can easily adjust the code to fit the requirements of the new site I’m building.
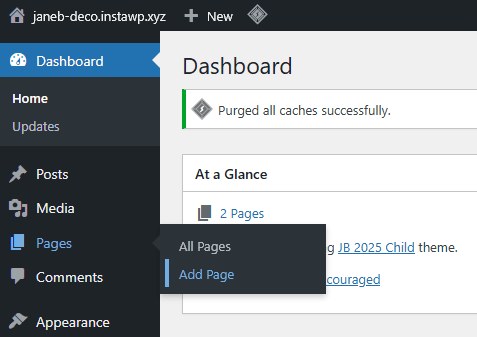
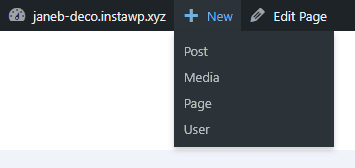
Add Homepage and Blog page (if required)
At this stage, the homepage is likely to be empty; I’m just creating it ready to add content when it’s available.
Note that this is an opportunity to set some preferences for the page editing experience. Click on the three vertical dots in the top right hand corner of the screen and select Preferences.
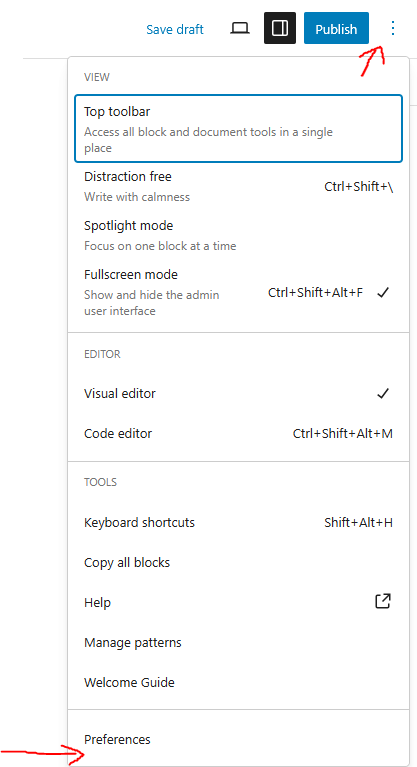
I usually turn on the general preference “Always open list view” and turn off “Show starter patterns” and “Enable pre-publish checks” and turn on the blocks preference “Show most used blocks”.
For the homepage, choose Page in the settings column on the right of the screen, then click on the template to change it from Pages.
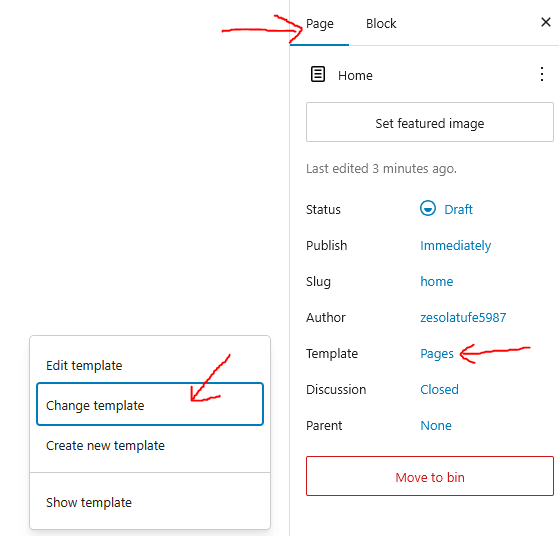
Choose “Change template” and pick the template called “Page no title”.
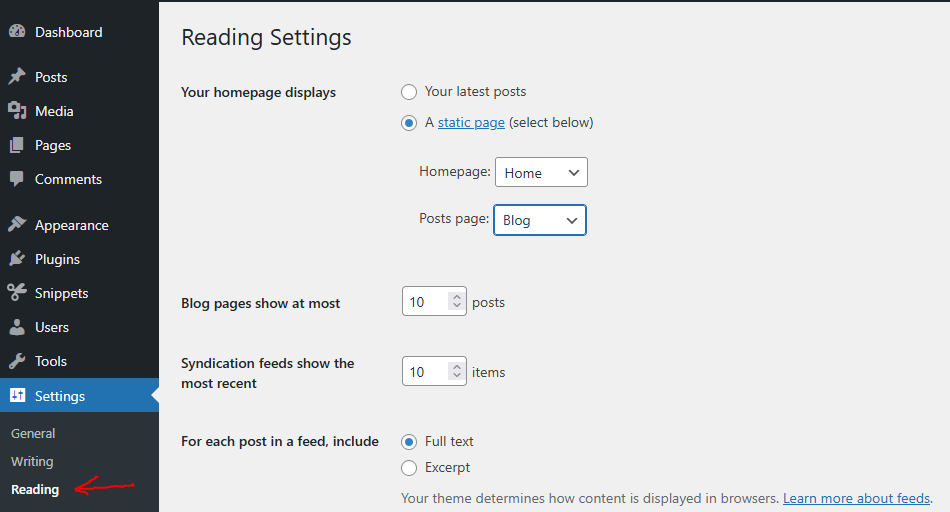
Go back to the Dashboard and choose Settings > Reading then change the radio button for “Your hompage displays” to “A static page” with the Homepage set to Home and the Posts page set to Blog.
Header and Navigation
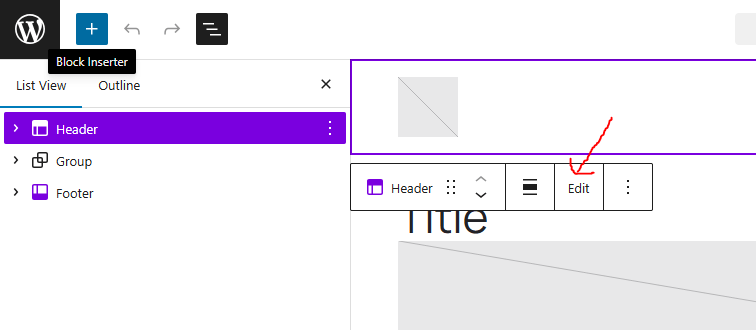
In the dashboard, go to Appearance > Editor > Templates and choose one of the templates.
Click on the Header section and then choose “Edit”.
Click on the logo block to upload a logo. I’ll also have the opportunity to use this as the site icon.
Note that if I want to use an SVG logo (which is quite likely) I may want to delay this step until I’ve installed the SVG support plugin. I might want to change the logo size in the Additional CSS.
Click on the Navigation block and then “create a new menu”. Add Page link blocks to add the Homepage and Blog page to the menu. As I add new pages, I can go back and add them to the menu here.
Footer
Editing the Footer template part is done in the same sort of way as editing the Header template part, as described above. I go into more details about patterns later, but I do have an alternative footer pattern that I can import to give me a different footer layout from the default used on the Blank Slate website.
Install and Activate Plugins
Go to Plugins > Add Plugins, choose Favourites, input my WordPress.org username and click on Get Favourites.
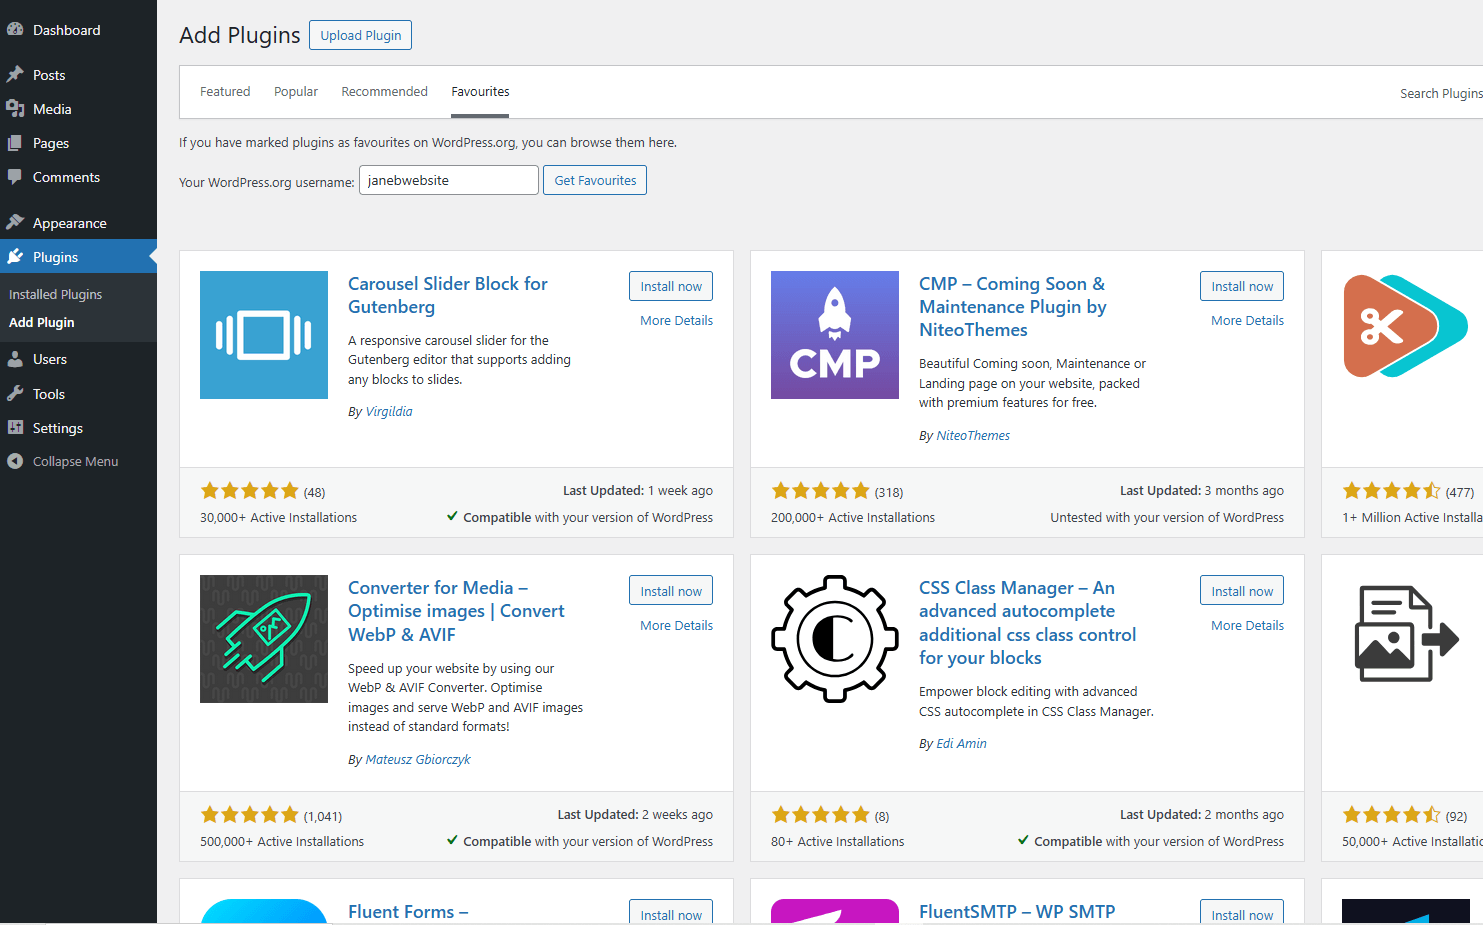
Click the “Install now” button next to any of the plugins required – which are likely to include some, or all, of the ones mentioned below.
Code Snippets
Activate the Code Snippets plugin.
Go to Snippets > Import
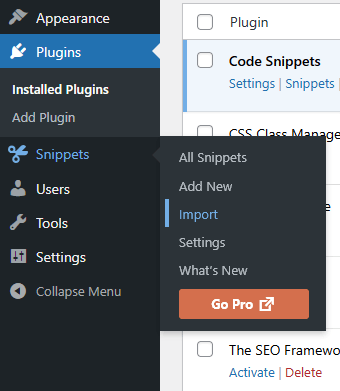
Browse the files on my computer and import and activate a few snippets I’ve previously created and exported from the Blank Slate website. These are named disable-plugin-and-theme-update-emails.code-snippets.json, redirect-to-home-on-login.code-snippets.json and remove-items-from-toolbar.code-snippets.json
The first of these stops the frequent emails that users receive whenever a plugin or theme is updated.
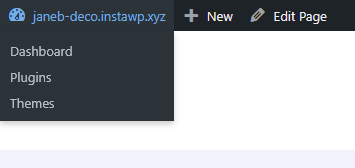
The idea behind using the other two snippets is to make things less confusing for clients when they log in to their website and just want to add or edit some posts or pages. With these snippets activated, when they log in they will not see the WordPress Dashboard; instead they will be redirected to the homepage of the website which will now have a black admin bar at the top. They can use the usual navigation menu to move around the website and can use the options in the admin bar to edit the post or page they are viewing, or to add a new one.
They won’t be confused by the “edit site” option, as that’s been removed. But they can still visit the dashboard and gain access to all areas if that’s what they want to do.
CSS Class Manager
Activate the CSS Class Manager plugin.
Edit the homepage (or any other page), choose any block and make sure “Block” is selected in the settings sidebar.

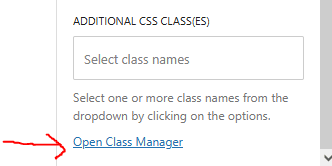
Scroll down to the bottom of the settings sidebar and click on the link saying “Open Class Manager”.
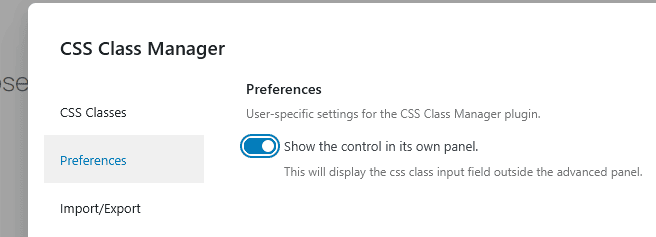
Under Preferences, toggle on the option labelled “Show the control in its own panel”.
Use the Import/Export option to import the JSON file of CSS classes I’ve already exported from the Blank Slate website. Note that I’ll need to make sure that I’ve exported the most recent set of classes that I’ve created.
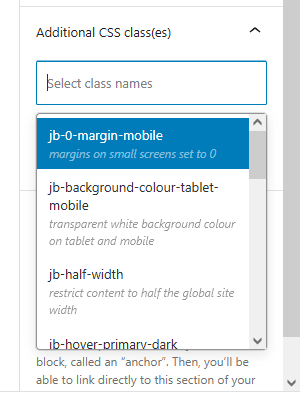
This plugin will give me a dropdown list of the CSS classes that I have created, so that I can pick them from a list in the settings sidebar, rather than having to type them in.
Litespeed Cache
If the Litespeed Cache plugin is supported by the website host, then I’m likely to install and activate this.
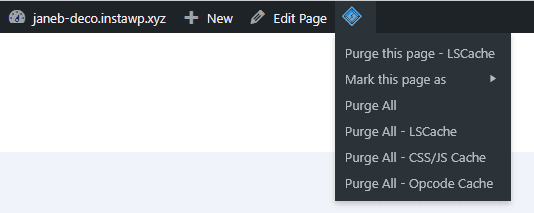
It’ll add a diamond shaped icon to the admin bar and if any edits are made to the site that don’t seem to have any effect then using this icon to purge the cache could fix the problem.
SVG Support
I’ll probably install and activate the SVG Support plugin if I want to be able to upload SVG files as images (e.g. for a logo). In many cases, I’m likely to use the Icon Block plugin (see below) instead to add the SVG code to a page.
The Icon Block
The Icon Block plugin is used by several of my patterns to add SVG icons and shapes. I can replace the icons by adding the SVG code or by uploading SVG images to the Media library.
The SEO Framework
I don’t offer an SEO service, but I will usually install and activate The SEO Framework plugin.
Twentig
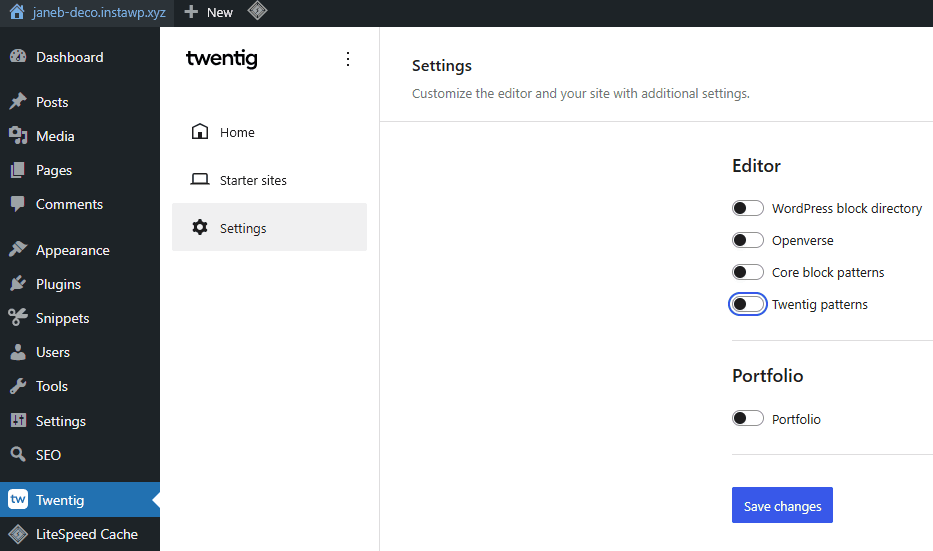
The Twentig plugin adds some useful features to extend the core WordPress blocks and I make use of it in several of my patterns. The letters “tw” in a small square next to a block setting shows that it’s an extra setting added by this plugin.

I’ll usually go into the twentig settings and toggle off the options to include the WordPress block directory, Openverse, Core block patterns and Twentig patterns. But if a client wanted the option of using some extra patterns they could always turn these back on.
View Transitions
The View Transistions plugin adds a bit of extra polish to a website, but no real extra functionality. Jamie Marsland’s YouTube video shows why it can be nice to have, but it could be turned off it a client doesn’t like it.
Wordfence Security
Not everyone’s a fan of the Wordfence plugin, but I usually install and activate it. Under the settings for this plugin, I lock users out after a small number of login failures or forgotten password attempts, or if they use an invalid user name of “admin” or my website name.
WP Armour – Honeypot Anti Spam
I’ll install and activate WP Armour if I’m allowing blog comments or have a contact form.
However, unless the client particularly wants people to be able to comment on their blog posts, I’d usually go into the Discussion settings of the Dashboard and untick the box saying “Allow people to submit comments on new posts”.
WPVivid
WPVivid is my usual backup plugin. Once I’ve built the website, or whenever I’ve made major changes to a site, I’ll take a backup using this plugin and store it on my PC and online.
Colour Scheme
My child theme has a number of colour scheme variations, as explained on my colour scheme suggestions page.
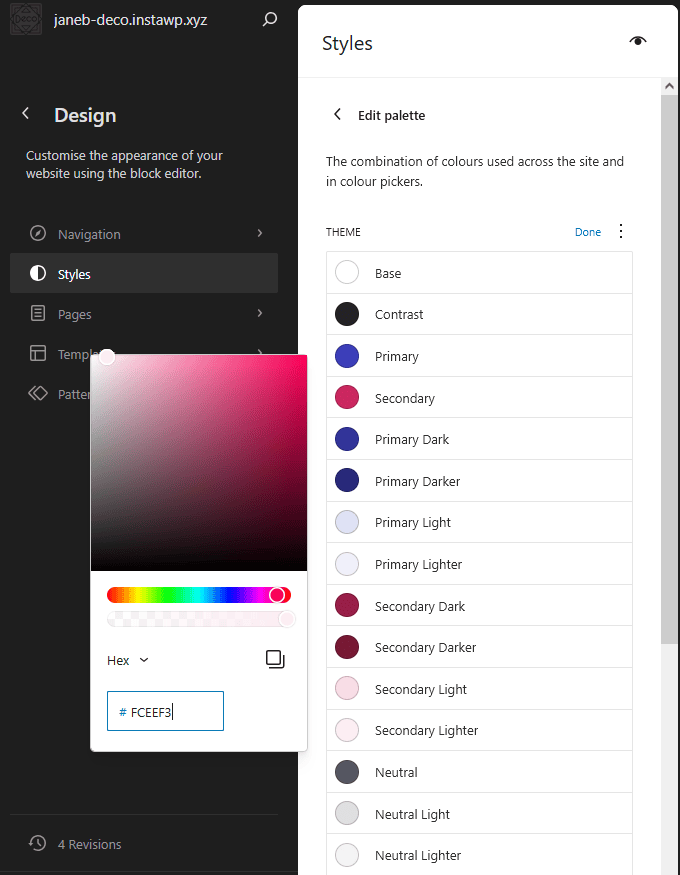
In the Dashboard, go to Appearance > Editor > Design > Styles > Colours > Edit Palette. Either stick with the default or choose one of the other variations as a starting point.
Click the 3 vertical dots to show the details of the colours and then replace them with the desired ones.

Appearance > Editor > Design > Styles > Colours also allows me to change things such as text and background colour for the site as a whole. There’s a colour setting for button text and background but the button hover colours are in the Additional CSS section.
Appearance > Editor > Design > Styles > Blocks can be used to customise the appearance of specific blocks throughout the site. I’ll sometimes use the Additional CSS section instead just because it’s easier to keep track of what I’ve changed.
Fonts
Ideally, the client will choose one or two fonts for their website and there are some ideas on my font suggestions page. I also have created a slider for my own use at https://janeb-fonts.instawp.xyz/ to enable me to see how various heading and paragraph fonts might look when combined.
Alternatively, there are some suggestions from a typography expert at https://pimpmytype.com/font-license/free/
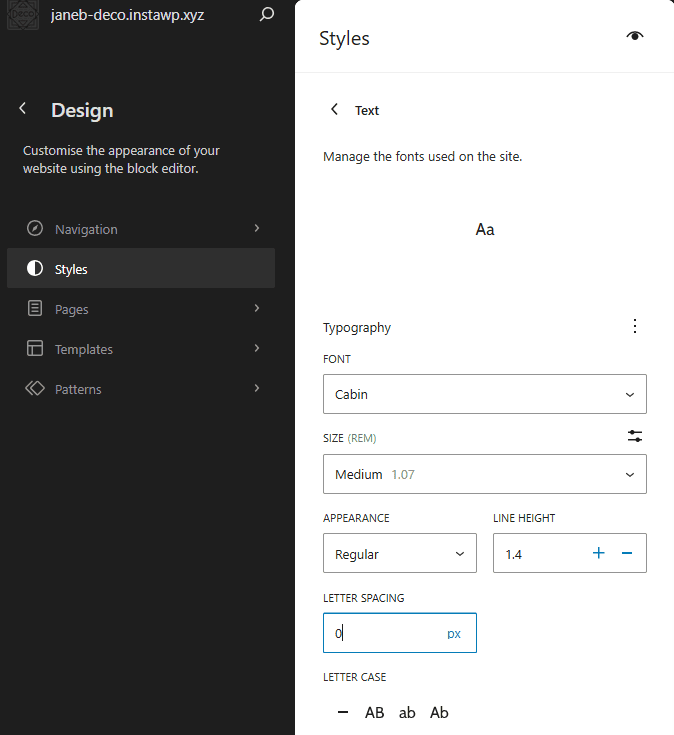
In the Dashboard, go to Appearance > Editor > Design > Styles > Typography and use the manage fonts icon to install any fonts I require.
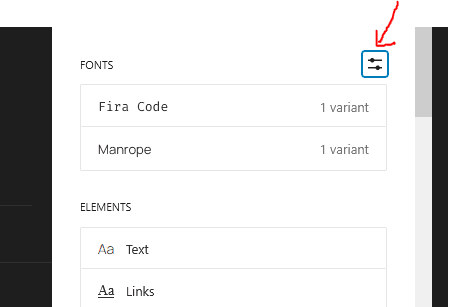
Then I can assign fonts to the text and headings.
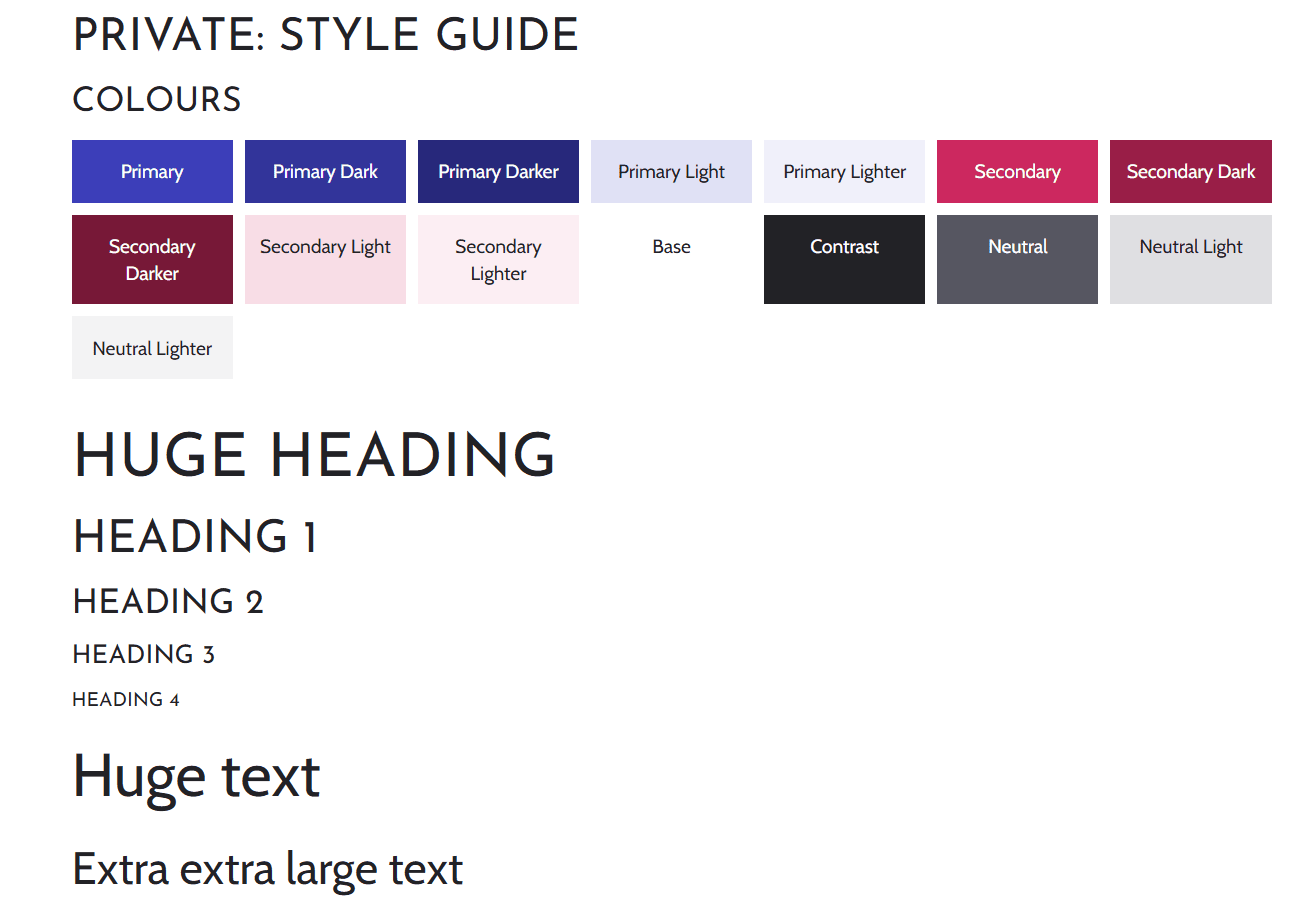
Create Style Guide Page
Copy and paste Blank Slate’s Style Guide page into a new page on the new website – but set its status to private so that it is visible only to logged in users. Edit the page if, for example, more than two colours are being used.
Patterns
Export the most up-to-date set of patterns from Blank Slate
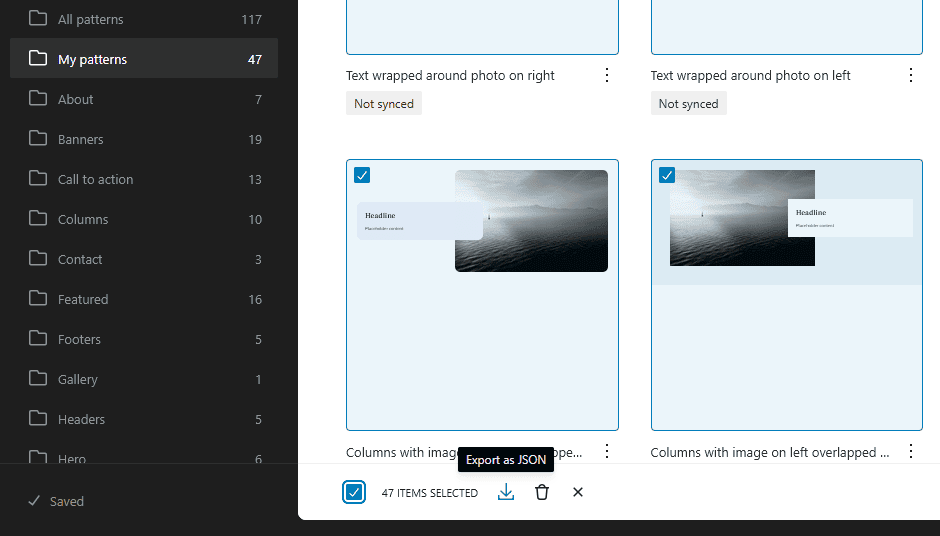
In the Dashboard for the Blank Slate website go to Appearance > Editor > Patterns > My Patterns.
Click the View Options icon (which looks like a cog) in the top right hand corner and change the items per page to 100.
Select all the items by ticking the box in the bottom left hand corner and then click the downward pointing arrow to export all the patterns as JSON files. This will give me a zipped folder, which I’ll unzip (extract all) to get at the individual pattern files.
Import Required Patterns to the New Website
In the Dashboard for the new website go to Appearance > Editor > Patterns > My Patterns.
For each pattern required (some basic useful ones plus any requested by the client) click the Add Pattern button in the top right hand corner of the screen, then choose Import Pattern from JSON and choose from the ones downloaded in the step above.
I may want to edit the patterns to fit with the aesthetic of the new website.
Each pattern has a descriptive name and has a number at the end of the file name which refers to the layout (page) of the Blank Slate website on which it can be seen.
For example, if the client would like a hero image similar to the one on Layout 2 of Blank Slate, then I’d import and use the pattern called hero-2.json
Build Pages Using the Content Received from the Client
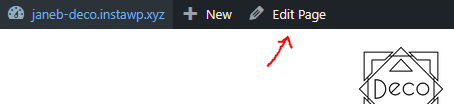
Edit the homepage I have already created and also add new pages and posts as required.
Insert and Edit Patterns as Requested by the Client
These will already have been uploaded as described above, but more can be added at any stage.
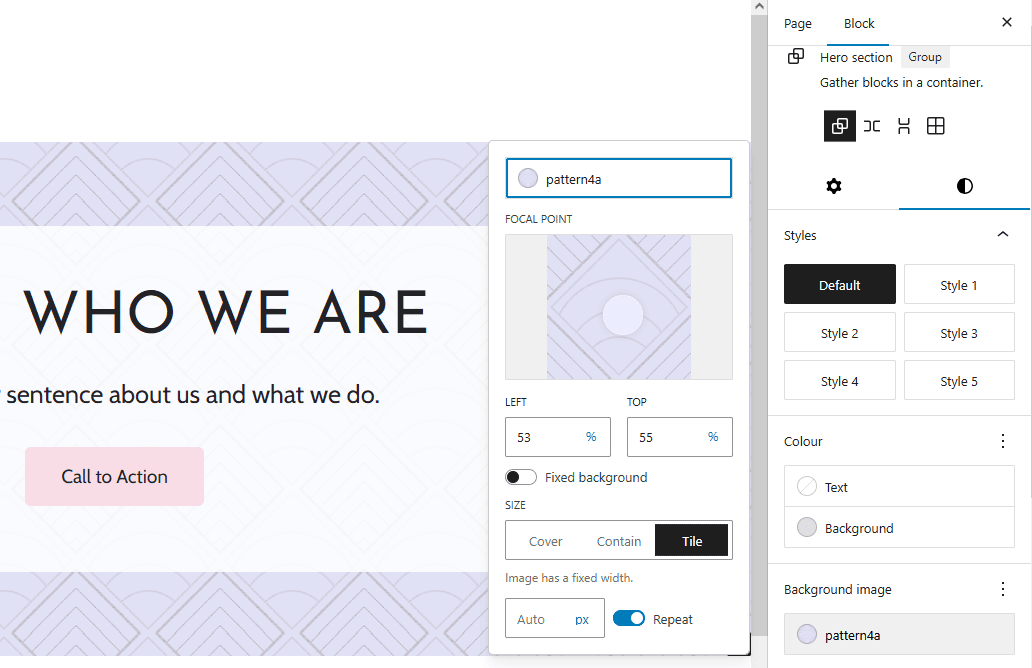
Click on the Block Inserter icon at the top right of the screen (plus sign in a box) then choose Patterns > My Patterns, add the ones required and then edit them to change the content and customise the styles.


In order to change the settings of a block, for example to add a background pattern, I’ll need to make sure that the Block tab is selected in the settings sidebar.
Add Individual Blocks As Well As Patterns
Not every section of the page will be composed of patterns and I can add individual blocks too by either:
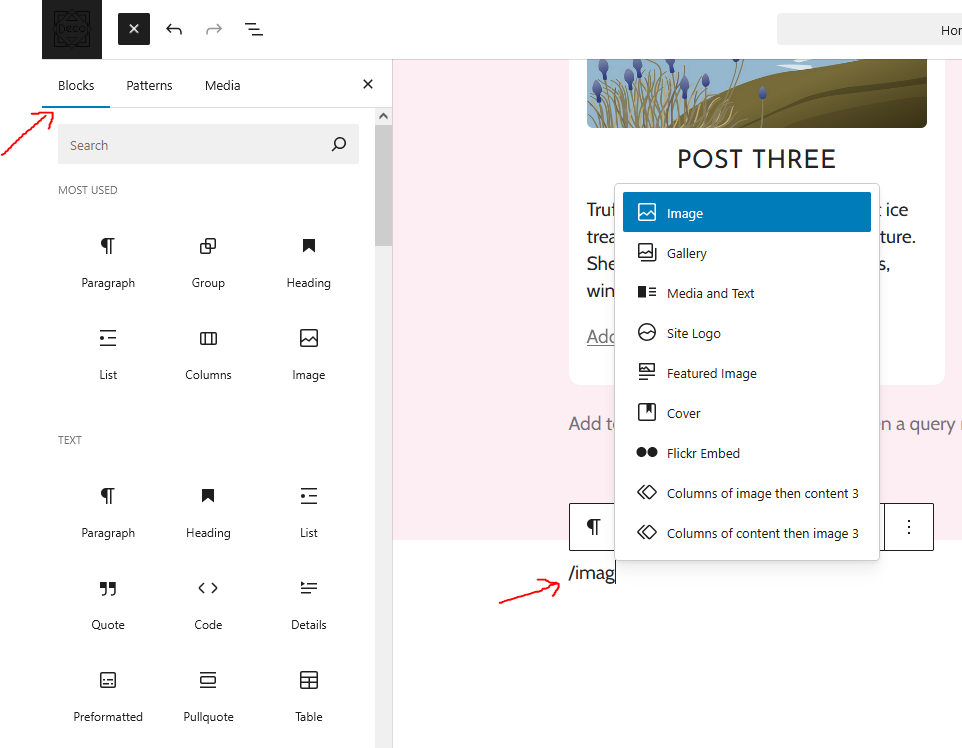
- using the Block Inserter icon and choosing Blocks instead of Patterns
- or placing the cursor at the spot where I want to insert the block, typing a slash and starting to type the name of the block.
Images
The first step is to ensure that all photographs, and other images, have been legally obtained and respect the copyright and licensing requirements of their creator.
I usually re-size images before uploading them, so that they are around the maximum size (in pixels) as the area they will occupy. I also try to keep them below around 300KB…and smaller than this would be even better.
The best width for an image will depend on where it’s going to be used but here’s a rough guide:
| Use | Width |
|---|---|
| Full screen width | 1920px |
| Full content area width | 1200px |
| Wide width | 1404px |
| Half screen width or blog featured image | 960px |
| Likely to be full width on tablet | 800px |
| Only likely to be full width on phone | 400px |
I’ll often optimise images using, for example, https://shortpixel.com/online-image-compression. Although I generally use photo editing software to resize the images first, both steps could be handled at the same time by ShortPixel – clicking the settings icon reveals some resizing options.
Blog Posts – Featured Images, Categories and Tags
Blog posts are added, and edited, in the same way as pages but there are some extra input boxes in the settings sidebar.
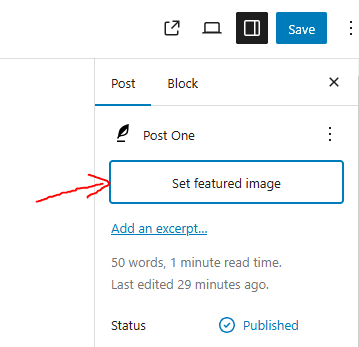
Make sure Post is selected (rather than Block) and use the button labelled “set featured image”.

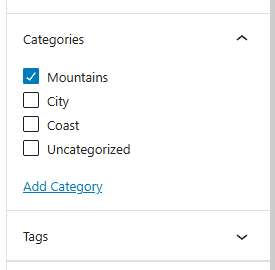
Categories and tags can be set further down in the settings sidebar.
YouTube Tutorial About the Block Editor
To learn more about how to edit pages and posts, see the YouTube video ‘Learn the WordPress Editor‘.